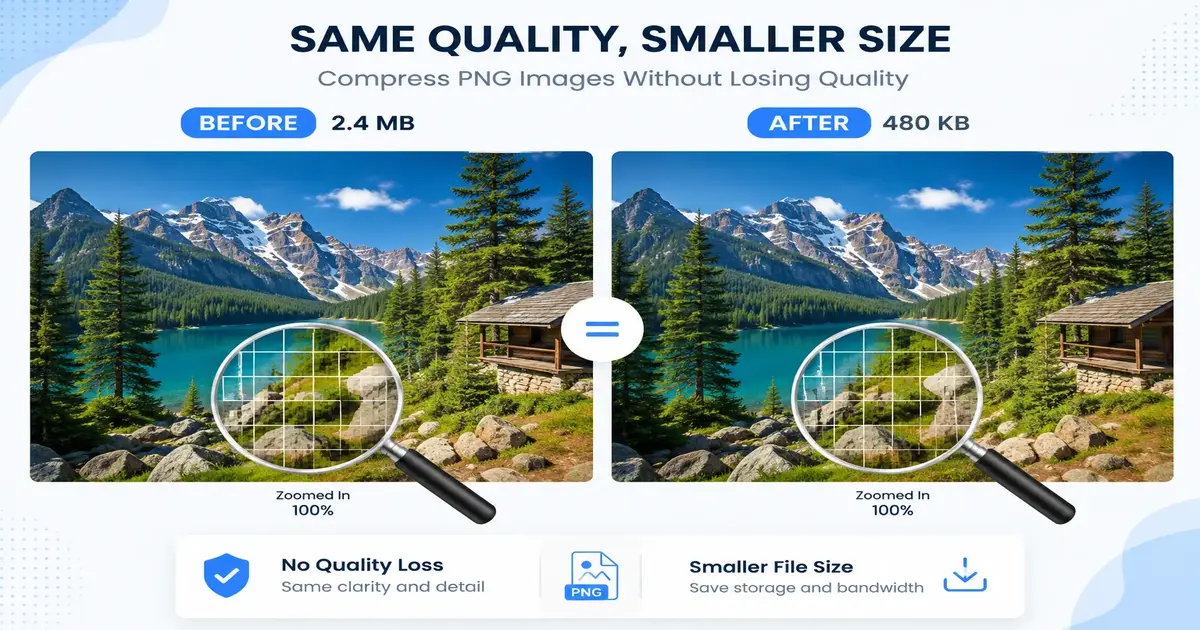
You've probably noticed it before: you export a screenshot, a logo, or a graphic as a PNG, and the file comes out way bigger than it has any right to be. A simple icon shouldn't be 3MB. A screenshot shouldn't take five seconds to load on a decent connection. The good news is that you can shrink a PNG down dramatically — often by 60-80% — without losing a single visible pixel of quality. The trick is understanding what's actually making the file so big in the first place, because most people either compress too aggressively and ruin the image, or don't compress at all and just live with the bloat.
Why PNG Files Get So Big (and Why That's a Problem)
PNG was built to be a lossless format — every pixel is stored exactly as it was created, with no data thrown away. That's fantastic for sharp edges, transparent backgrounds, and text-heavy graphics like logos or screenshots. But storing every pixel exactly means the file has to hold a lot more information than a photo-style format that's allowed to approximate things.
Lossless by Design
Think of it like the difference between a hand-written transcript of a conversation versus a rough summary. The transcript captures everything perfectly, but it takes up more space. PNG is the transcript. That's exactly why it's the default choice for anything with flat colors, sharp lines, or transparency — but it also means an uncompressed PNG is often carrying a lot of redundant data that can be squeezed out without touching the actual image.
Lossy vs Lossless Compression — What Actually Happens to Your Image
This is the part most guides skip over, and it's the whole reason people worry about "losing quality." There are really two different things happening under the hood when you compress an image, and they are not the same.
Lossless Compression
Lossless compression doesn't touch your actual pixels. Instead, it finds smarter, more efficient ways to store the exact same information. A good PNG compressor looks for patterns and redundancy in the file structure and rewrites it more efficiently — same image, smaller file, zero visual difference.
Color Palette Optimization
Many PNGs are saved with support for millions of colors even when the actual image only uses a few hundred. A compressor can detect this and rebuild the color palette to only include the colors that are actually present, which can cut file size significantly with no visible change at all.
Metadata Stripping
Photos and graphics often carry invisible baggage — color profile data, software tags, sometimes even GPS coordinates if the image came from a phone. None of that affects how the image looks, but it does add to the file size. Stripping it is one of the easiest wins available.
"Near-Lossless" Compression
Some tools offer a middle setting that makes extremely small, imperceptible adjustments to color values to unlock a bit more savings. Done well, this is still invisible to the human eye at normal viewing sizes — the key word being "done well." This is where cheap or overly aggressive tools go wrong, which is why the tool you use matters as much as the settings.
How Much Compression Should You Actually Expect?
It's worth setting realistic expectations, because the results vary a lot depending on what's in the image. A simple logo or icon with just a handful of flat colors can often shrink by 80-90% with zero visible change, since most of its file size was redundant palette and metadata to begin with. A detailed UI screenshot with lots of text and fine gradients usually lands somewhere in the 50-70% range. A photographic PNG — someone's phone camera photo saved accidentally as a PNG instead of JPG — will compress the least as a PNG, which is usually a sign that a different format would serve you better in the first place. Knowing roughly where your image falls on that spectrum ahead of time helps you spot when a "compressed" file didn't actually shrink much, which is often the first clue that the file wasn't a great candidate for PNG to begin with.
How to Compress a PNG Without Losing Quality (Step by Step)
Here's the actual process, in the order that gets you the best result with the least effort.
Step 1 — Start With the Right Export Settings
If you're exporting the PNG yourself (from a design tool, screenshot app, or code), avoid saving at unnecessarily high bit depths or with extra alpha channel data you don't need. Starting cleaner means the compressor has less junk to clean up later.
Step 2 — Run It Through a PNG Compressor
This is the step that does the heavy lifting. Upload your file to a dedicated image compressor, which handles the palette optimization and metadata stripping automatically, and you'll typically see 50-80% size reduction with the compression happening entirely in your browser.
What Settings Actually Matter
If the tool gives you a quality or intensity slider, start conservative. For anything with text, UI elements, or hard edges — logos, icons, screenshots — stay as close to lossless as possible. For PNGs that are actually photographic (a less common but real case), you can push the setting a little further since photographic detail hides minor compression artifacts better than flat color areas do.
Step 3 — Compare Before You Publish
Always zoom in and compare the compressed version against the original at 100% and 200% zoom, specifically around edges, text, and any gradients. This takes ten seconds and is the only real way to confirm nothing was lost before you publish or ship the file.
When PNG Isn't Even the Right Format
Sometimes the best way to "compress a PNG" is to realize it shouldn't be a PNG at all. It depends entirely on what's in the image.
PNG vs JPG
If your image is a photo with no transparency and no sharp text, JPG will almost always produce a smaller file at visually equivalent quality, because JPG's lossy compression is specifically tuned for photographic gradients. If you're storing product photos or backgrounds, running them through a PNG to JPG converter instead can save far more space than any PNG-specific compression ever will.
PNG vs WebP
WebP supports both transparency and much better compression than PNG in most cases, and modern browsers all support it now. If file size is critical and you have flexibility over format, WebP is often the better long-term choice — though PNG remains the safer, most universally compatible option when you need guaranteed support everywhere, including older software and print workflows.
Common Mistakes That Hurt Quality
The single biggest mistake is cranking a compression slider to maximum "just to be safe" about file size, which introduces visible banding on gradients and softens sharp edges on text and icons — exactly the details PNG was chosen to protect in the first place. The second most common mistake is compressing an already-compressed file repeatedly across multiple tools, which can compound quality loss even in supposedly lossless pipelines if any one step wasn't actually lossless. And if you're dealing with a batch of very large PNGs — high-resolution screenshots or exports in the tens of megabytes — running them through a heavier-duty image weight reducer first can make the difference between a page that loads instantly and one visitors abandon.
Tips for Web, Print, and App Use
The right approach shifts slightly depending on where the image is headed.
For Websites
Every extra 100KB on a page adds real, measurable load time, and page speed directly affects both user experience and search rankings. Compress every PNG before it goes live, and consider serving WebP with a PNG fallback if your platform supports it.
For App Icons and UI Assets
These are usually small in dimensions but get requested constantly — a bloated icon file multiplied across thousands of users adds up fast. Compress once at the source, and you'll never have to think about it again.
Quick checklist before you export
Strip unnecessary metadata, optimize the color palette, compare at 100-200% zoom, and confirm the file is actually the right format for what's inside it. That's the whole process, and it rarely takes more than a minute per image.
Final Thoughts
Compressing a PNG without losing quality isn't really a trade-off once you understand what's happening — most of the savings come from stripping out data that was never contributing to how the image looks in the first place. The remaining gains come from choosing the right format and the right tool rather than just dragging a slider and hoping. Do it right once, and you get a file that loads faster, ships smaller, and looks exactly the same as the original.